
Pages
Support Email
Managing support email addresses and domains
Overview
Support Email lets you configure the email addresses that receive and send support communications. You can use a ready-made built-in address or connect your own custom email or domain.
To access Support Email, go to Settings → Support Email.
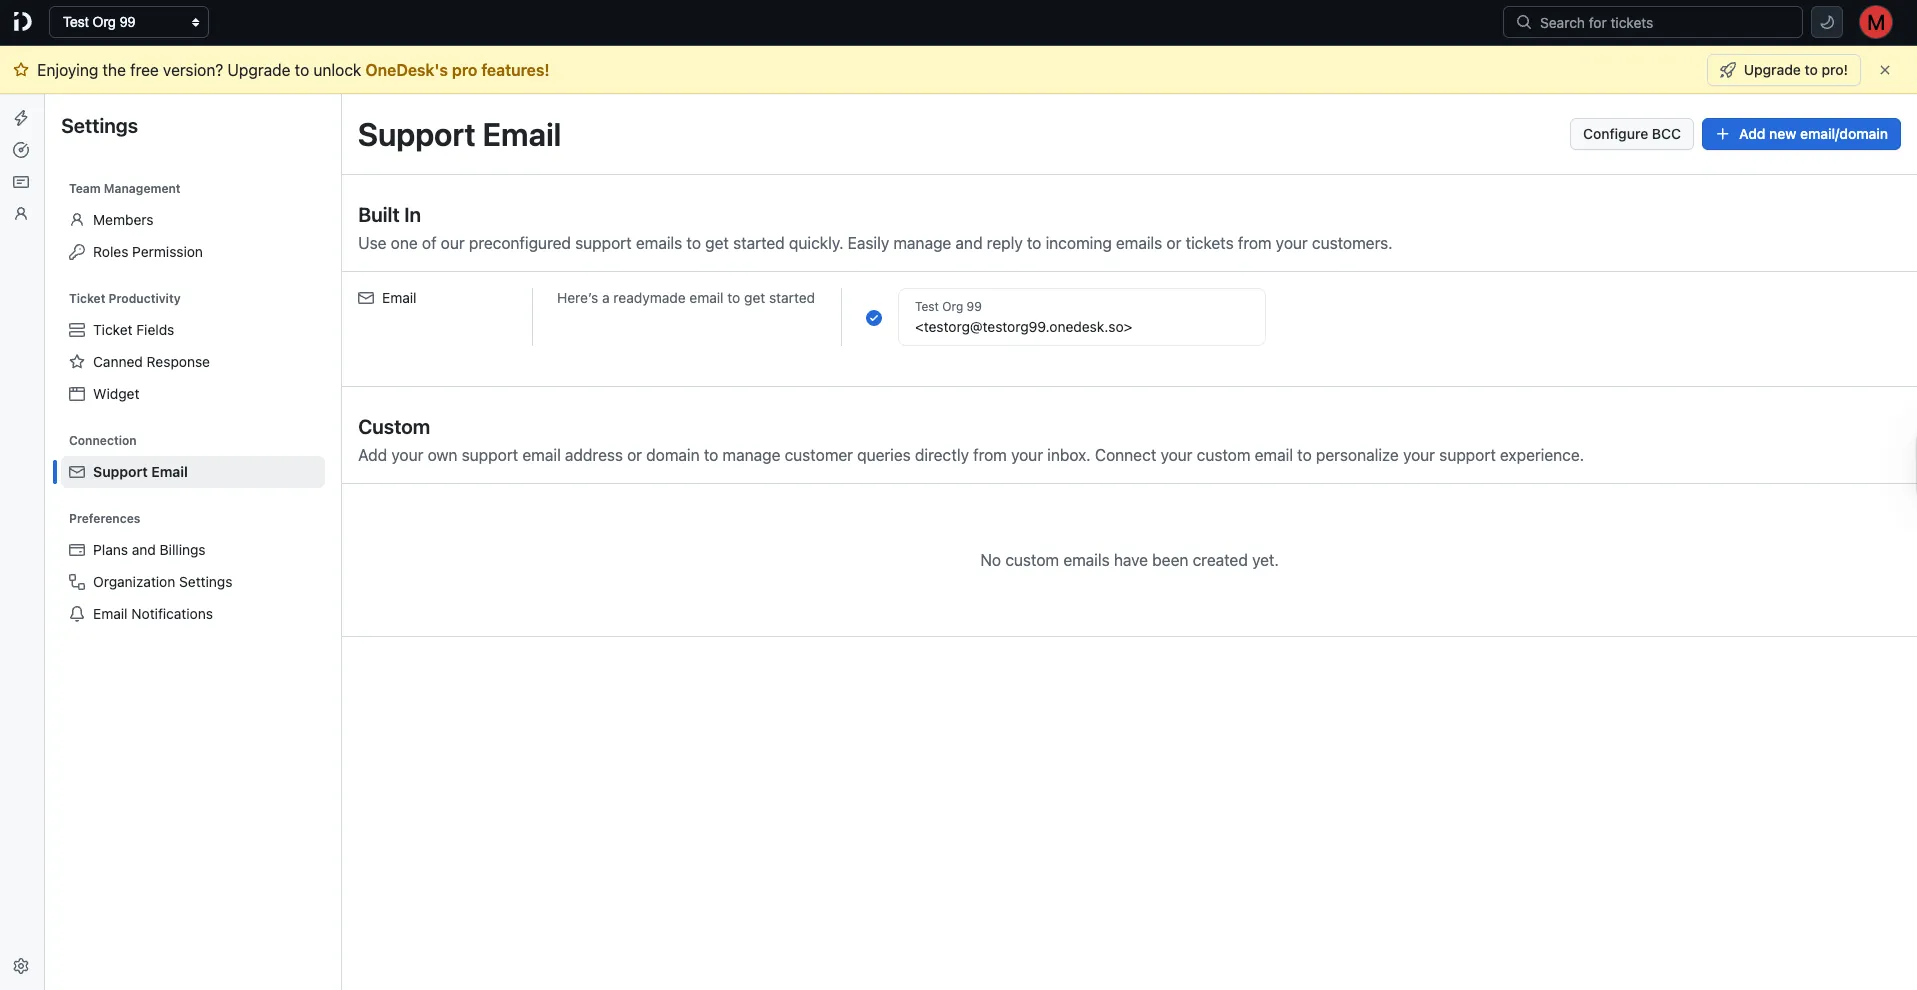
Built-in email
Every organization gets a preconfigured built-in email address out of the box — formatted as [email protected]. This lets you start receiving and replying to customer tickets immediately without any setup.
The built-in email is always listed under the Built In section and is active by default.
Custom emails and domains
The Custom section lets you connect your own email address or domain so that customer communications come from and go to your own branded address.
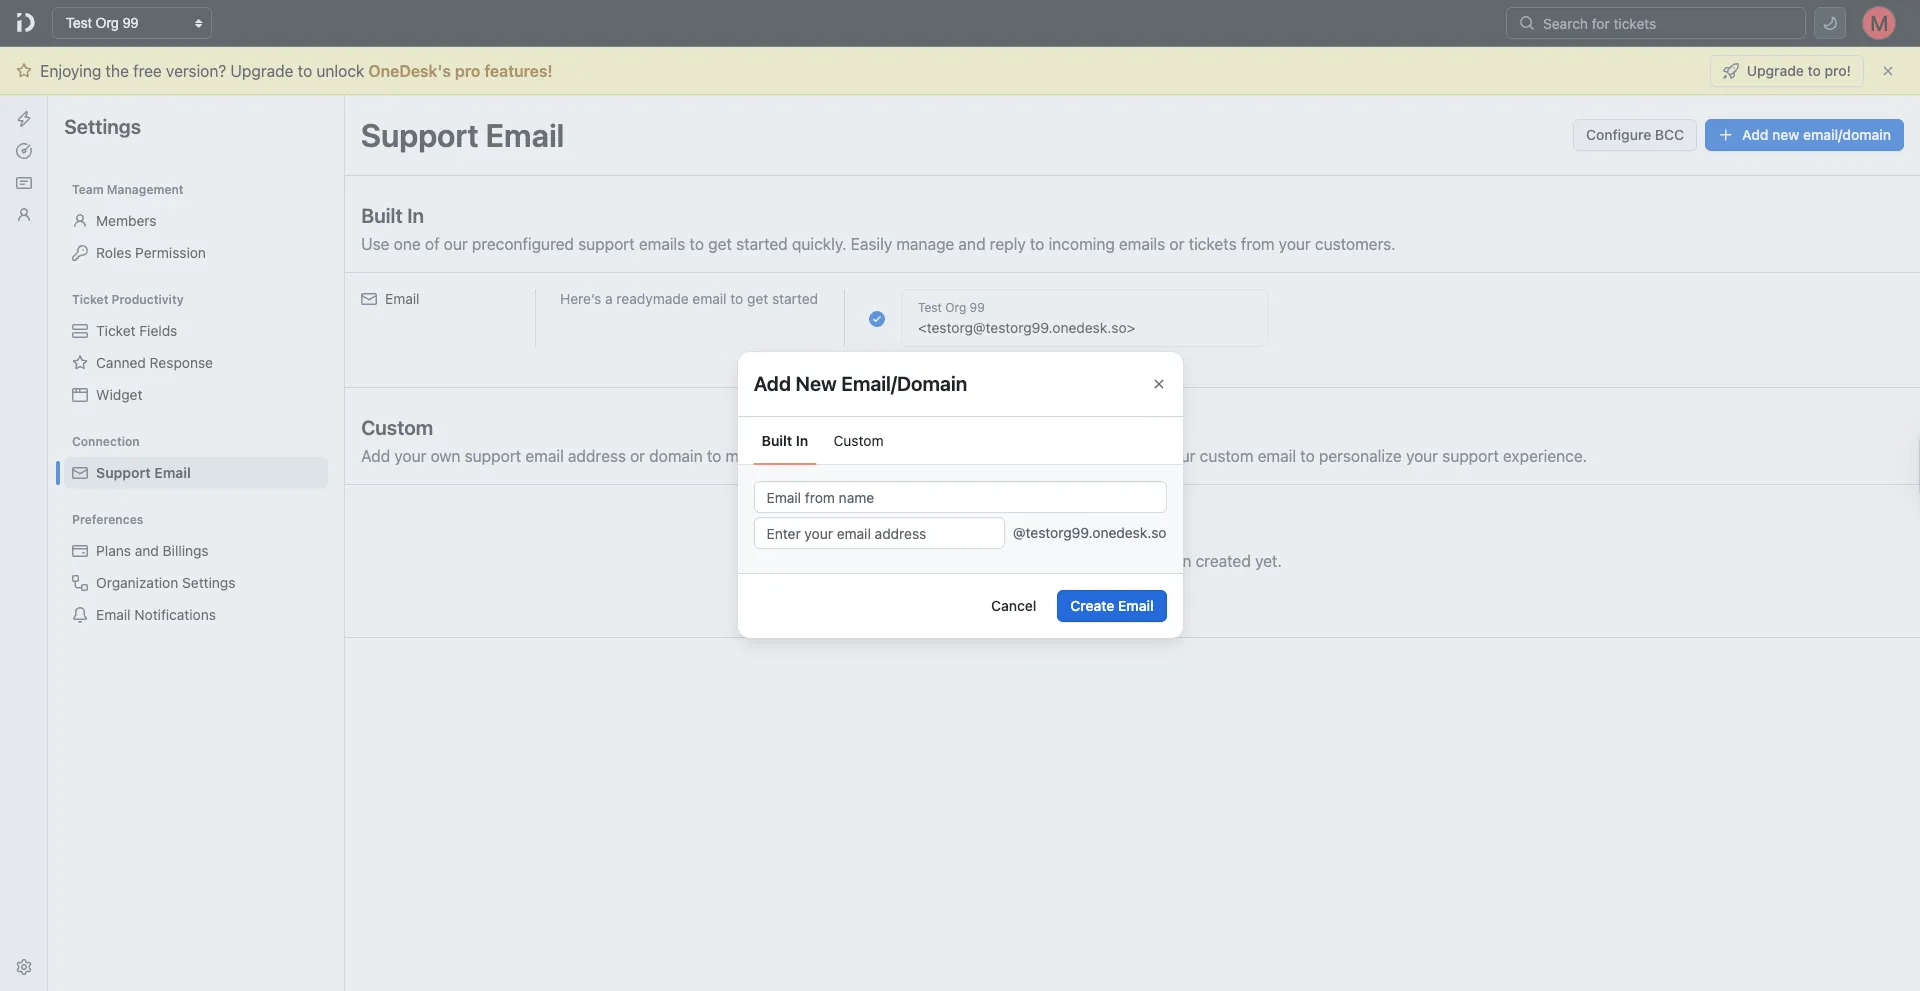
To add a custom email or domain, click + Add new email/domain. A dialog will appear with two tabs: Built In and Custom.
Built In tab
Use this to create an additional built-in address under your organization’s onedesk.so subdomain:
- Email from name — The display name shown to recipients (e.g., “Support Team”).
- Email address — The local part of the address before
@yourorg.onedesk.so.
Click Create Email to save.
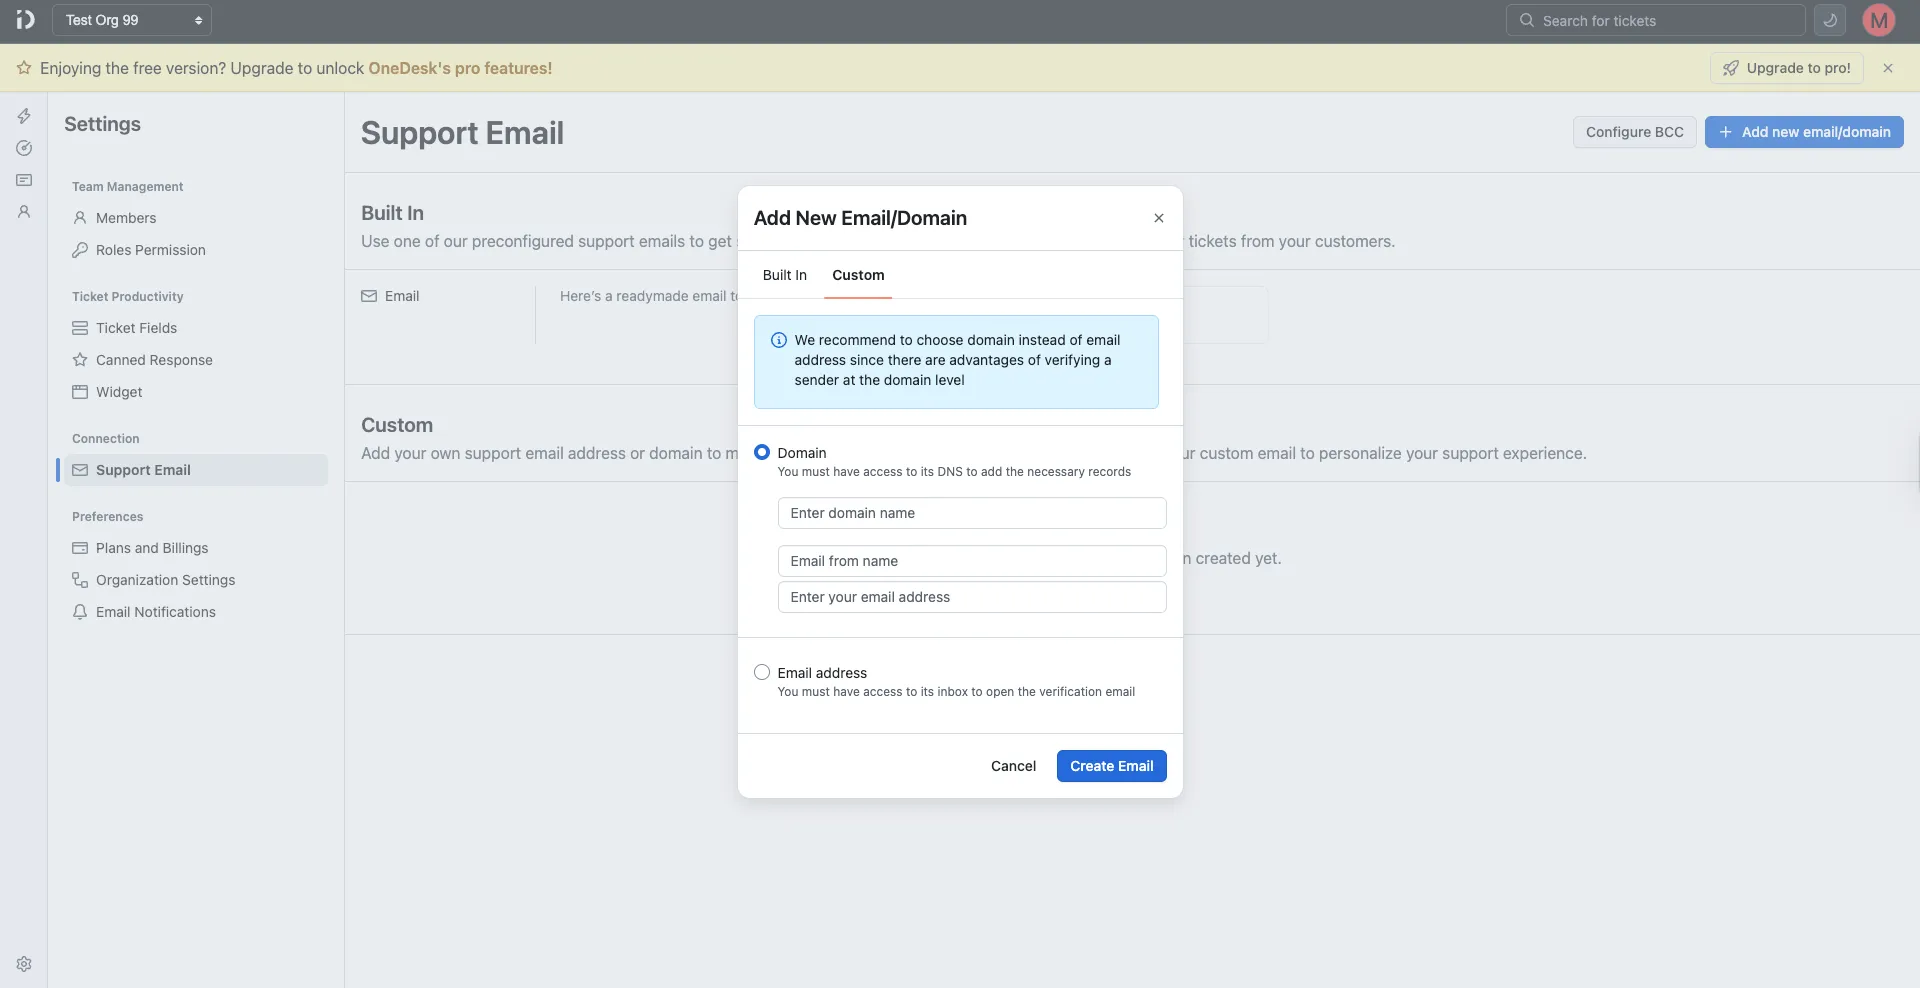
Custom tab
Use this to connect your own domain or a specific email address. Domain verification is recommended for better deliverability.
Tip: It is recommended to verify at the domain level rather than by individual email address, since domain-level verification provides additional sender authentication benefits.
Choose one of the following options:
Domain — Connect an entire domain (e.g., yourdomain.com). You must have access to the domain’s DNS settings to add the required DNS records.
- Enter your domain name.
- Enter the Email from name (display name for outgoing emails).
- Enter the email address that will be used under this domain.
Email address — Connect a specific email address. You must have access to the inbox to open and confirm the verification email that will be sent.
- Enter the Email from name.
- Enter the email address to connect.
Click Create Email to proceed. After creation, your custom domain or email will appear in the Custom list. If not yet verified, it will show an Unverified badge.
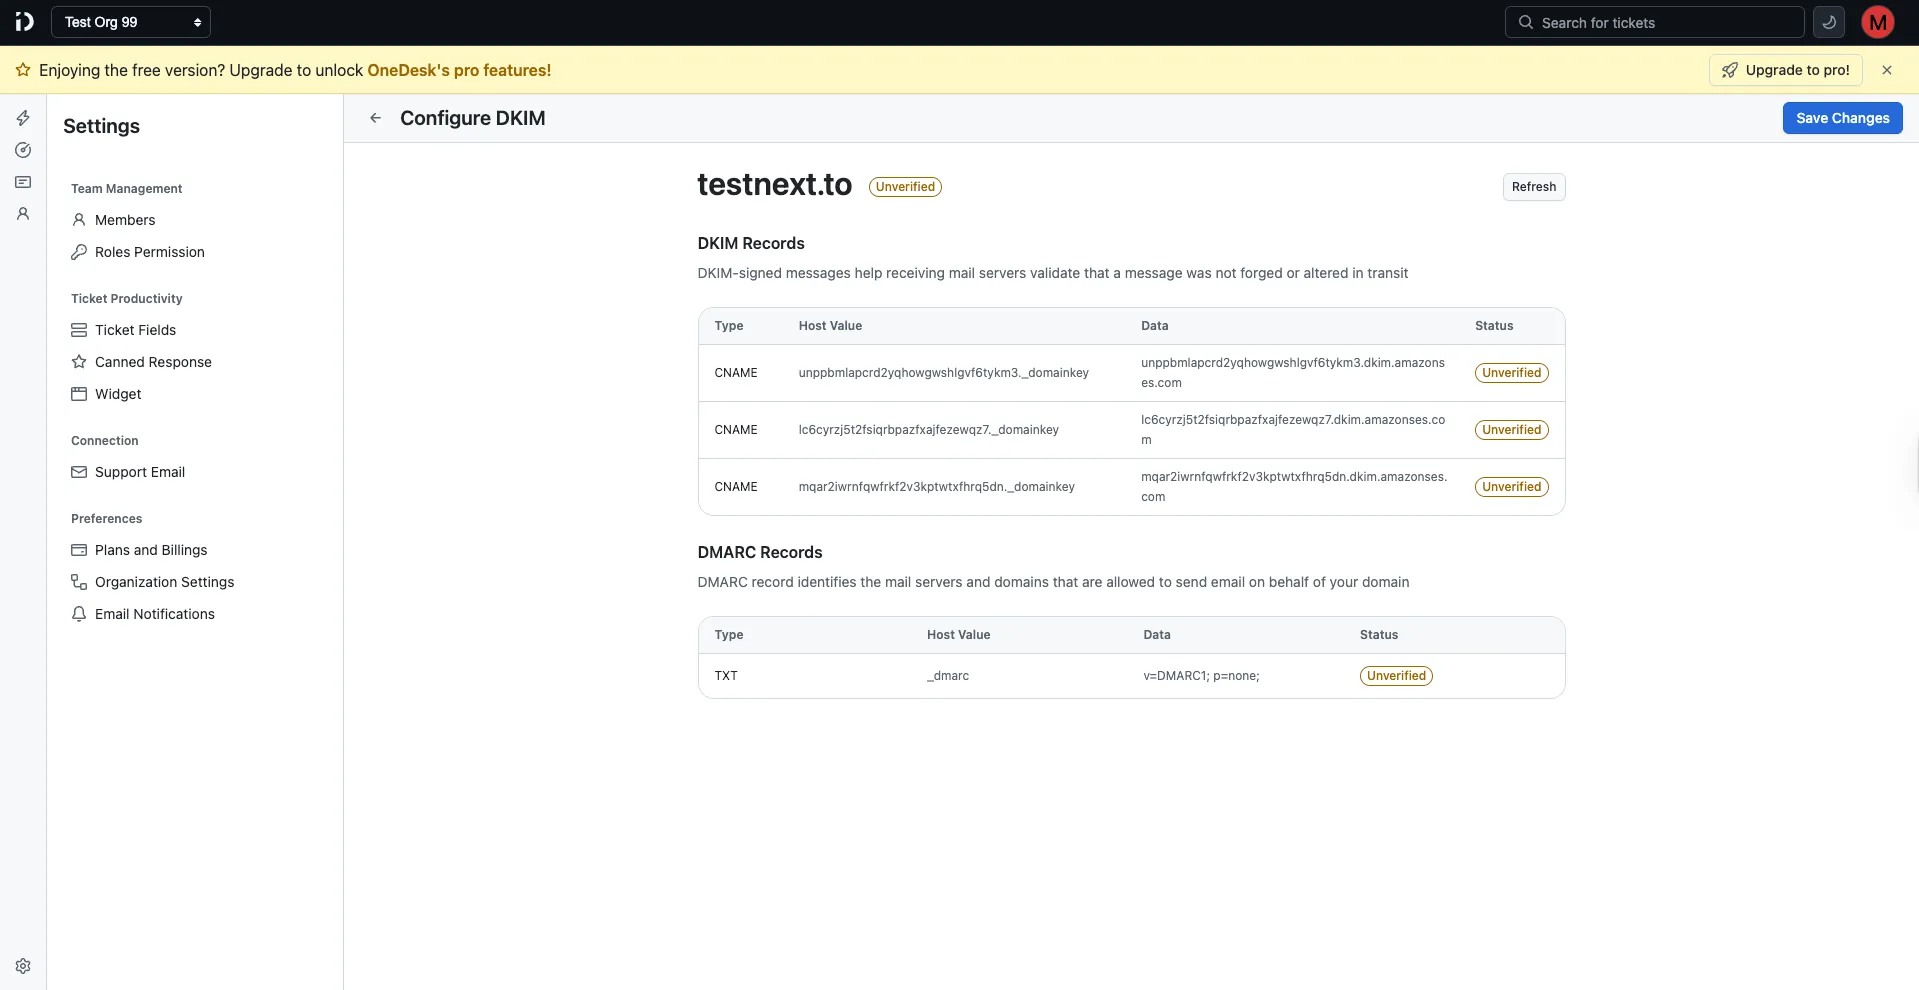
Verifying a domain (DKIM)
For custom domains added via the Domain option, click Configure DKIM to complete domain verification. DKIM (DomainKeys Identified Mail) ensures outgoing emails from your domain are authenticated and trusted by recipients’ mail servers.
Follow the on-screen instructions to add the required DNS records to your domain’s DNS settings.
Adding more emails to a domain
Once a custom domain is set up, you can add additional email addresses under it. Click + Add email on the domain entry to create more inboxes under the same domain.
Verify emails and set up forwarding rules
Once DKIM is configured, proceed with email verification and configure the steps to set up forwarding rules in your support mailbox.
Note: Your emails will be converted to tickets only after you set up forwarding rules. Hence, make sure to complete this step.
-
Verify your email address
-
Copy the default email address provided in the Support Email settings (e.g.,
[email protected]).Note: The long forwarding email address is automatically generated based on the organization name and cannot be customized.
-
Set up forwarding rules in your email provider to forward incoming emails to the copied address.
Set up forwarding rules in Gmail
- Open Gmail and go to Settings → See all settings → Forwarding and POP/IMAP.
- Click Add a forwarding address and enter the Support Email forwarding address you copied.
- Gmail will send a confirmation code to that address. Retrieve the code from the Support Email settings and enter it in Gmail to verify.
- Once verified, select Forward a copy of incoming mail to and choose the Support Email address from the dropdown.
- Click Save Changes to activate forwarding.
Set up forwarding rules in Outlook
- Open Outlook and go to Settings → View all Outlook settings → Mail → Forwarding.
- Click Enable Forwarding and enter the Support Email forwarding address you copied.
- Click Save to activate forwarding.
Configuring automatic BCC
Click Configure BCC at the top of the Support Email page to set up automatic BCC addresses. Any email address added here will be automatically included in the BCC field for all outgoing ticket communications.
To add BCC addresses:
- Click Configure BCC.
- In the Set automatic BCC email dialog, type an email address and press Enter to add it. You can add multiple addresses.
- Click Confirm to save, or Cancel to close without saving.
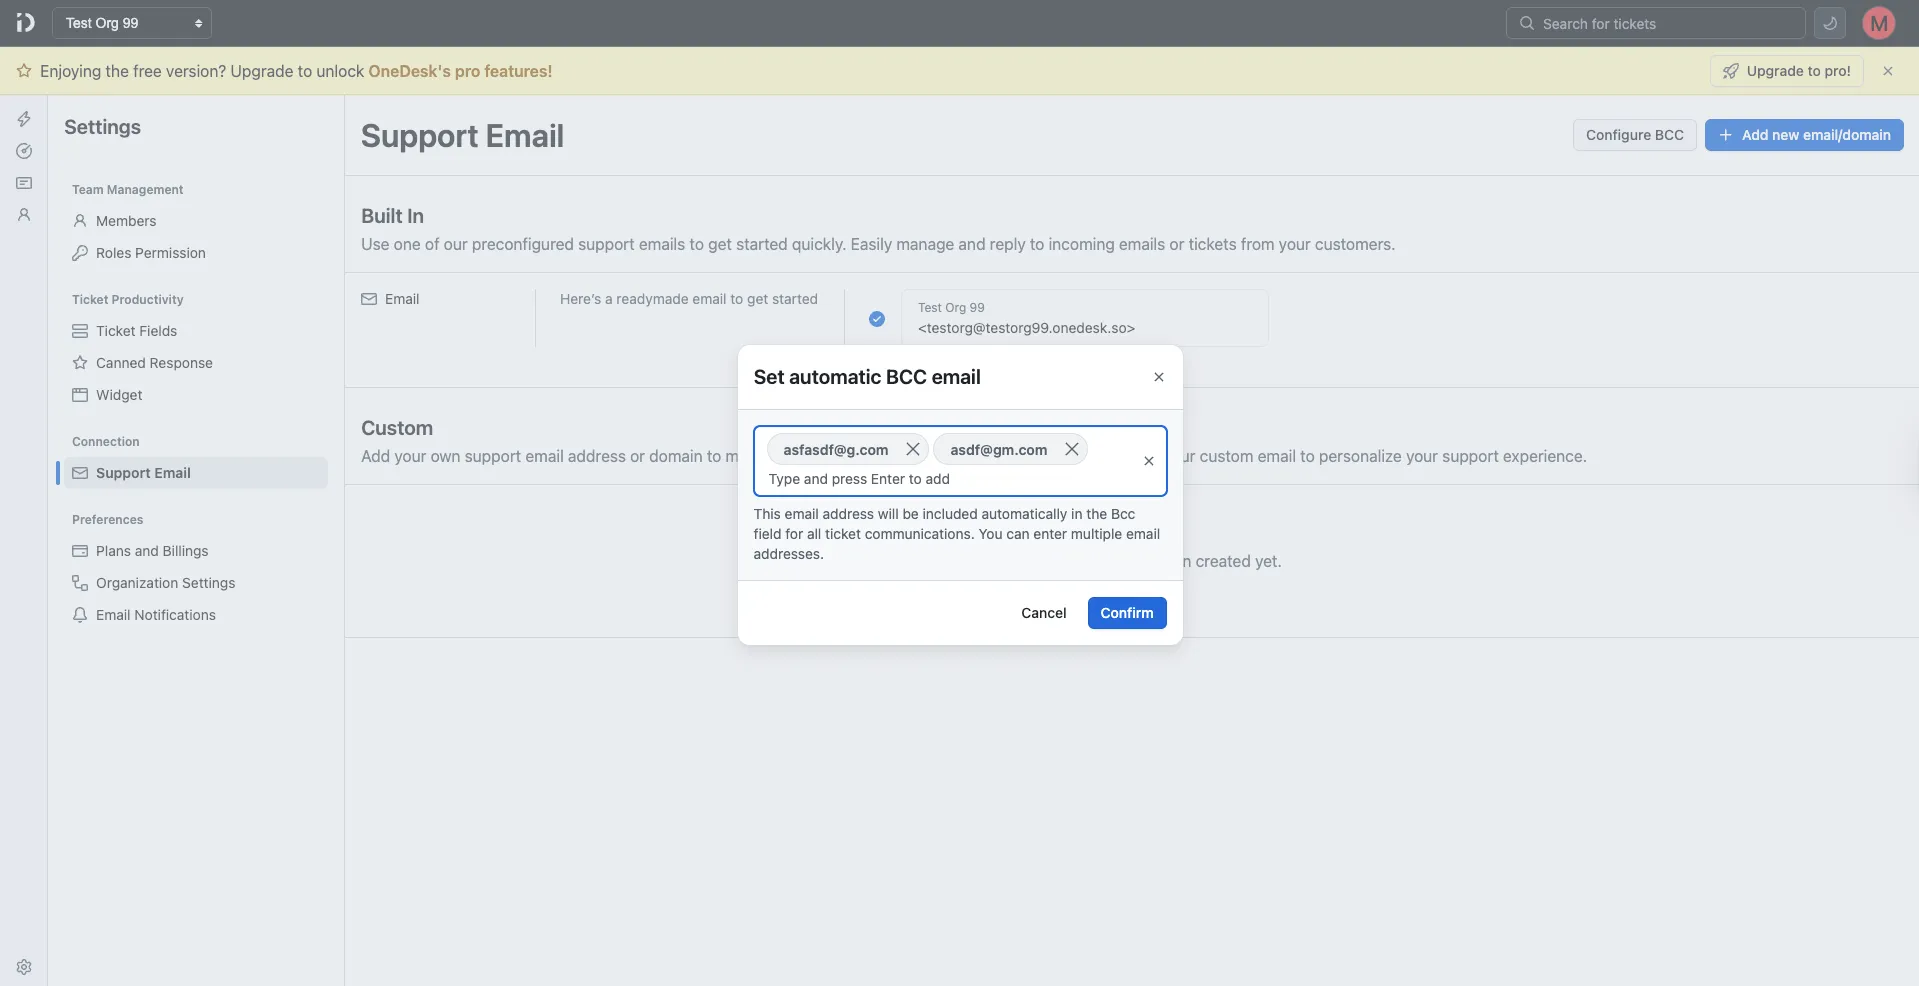
Note: BCC addresses are hidden from customers and other recipients — they silently receive a copy of all ticket email communications.
Table of Contents
On this page